Notating Web Edits
Communicating complex website edits in writing can be challenging, so we’ve created this tutorial to share practical tips and best practices that have proven effective for our University partners over the years.
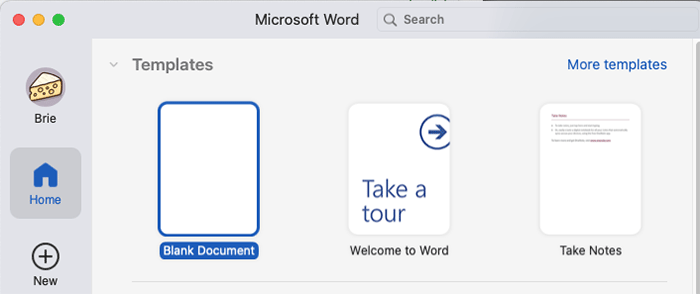
STEP 1: Open a Blank Word Document
Make sure to save this document in a place where you can find it easily and give it a descriptive name.
Tip: Be sure you're using the desktop version of Word. The online version limits some of the functionality used in this tutorial.
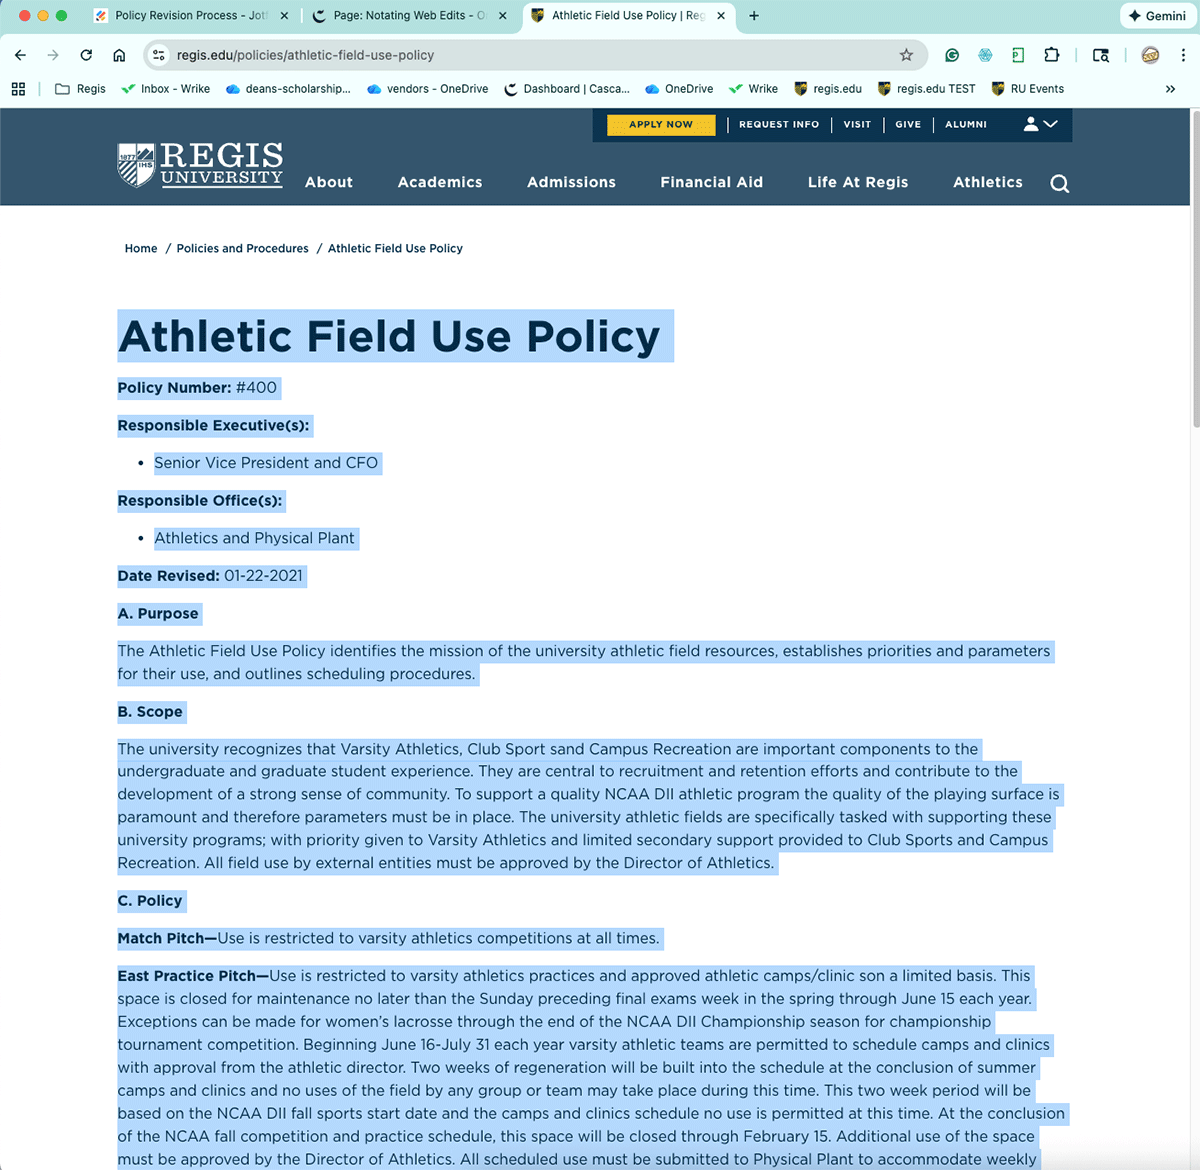
STEP 2: Navigate to the Webpage
For this guide, we will use the Athletic Field Use policy page as an example: https://www.regis.edu/policies/athletic-field-use-policy
STEP 3: Copy All Content
On the webpage, place your cursor at the top of the relevant content. Click and drag your cursor down to the end of the page without clicking again. When all the relevant content is selected, hit Control+C on your keyboard to copy the content.

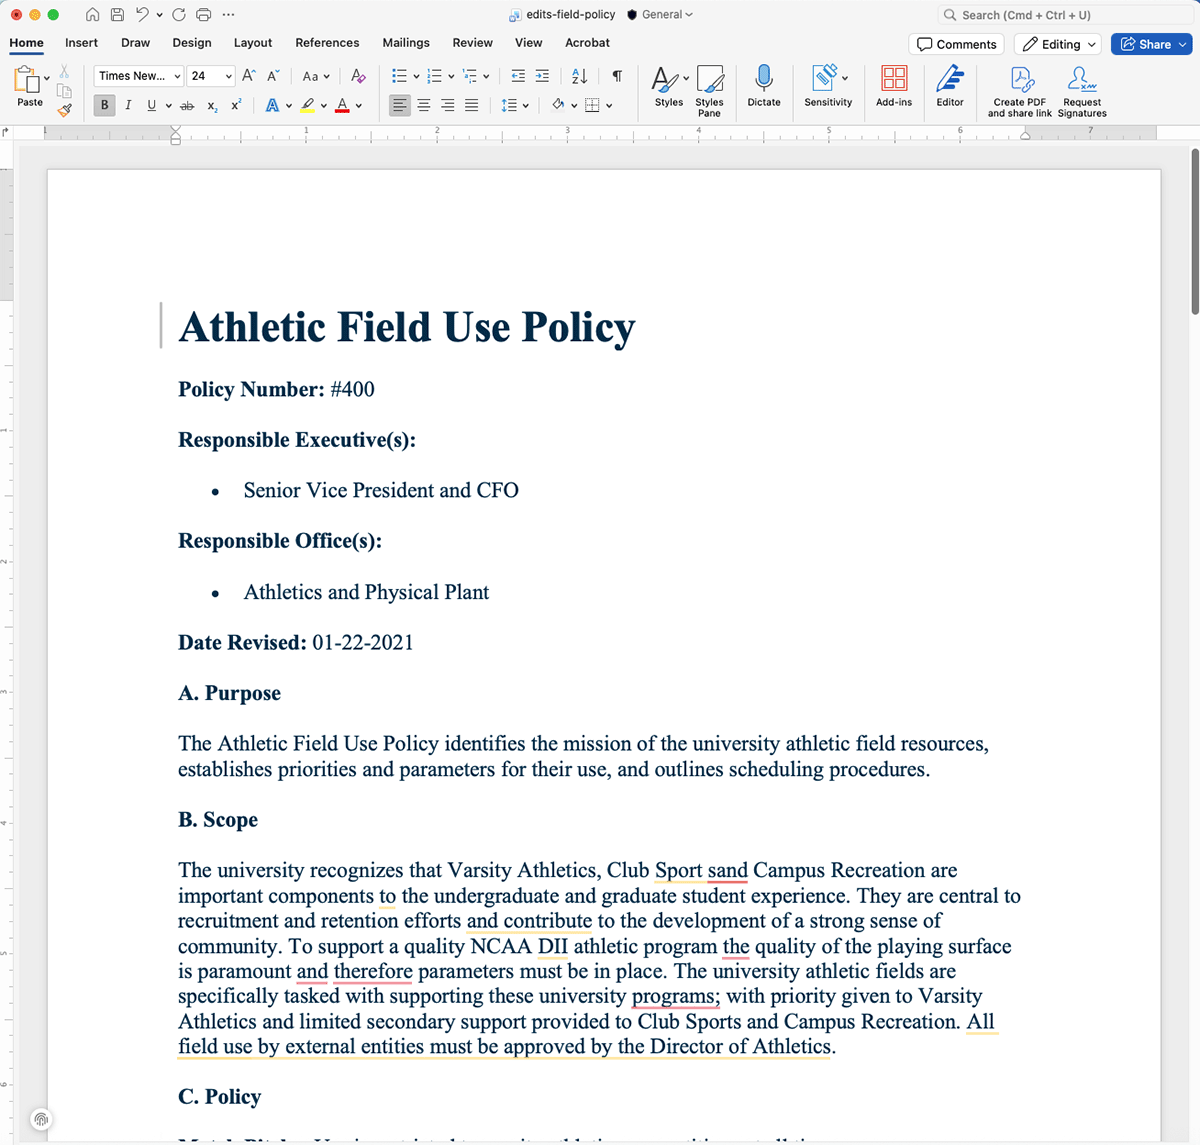
STEP 4: Paste All Content
Click into your blank Word document and hit Control+V on your keyboard to paste the content into the document.
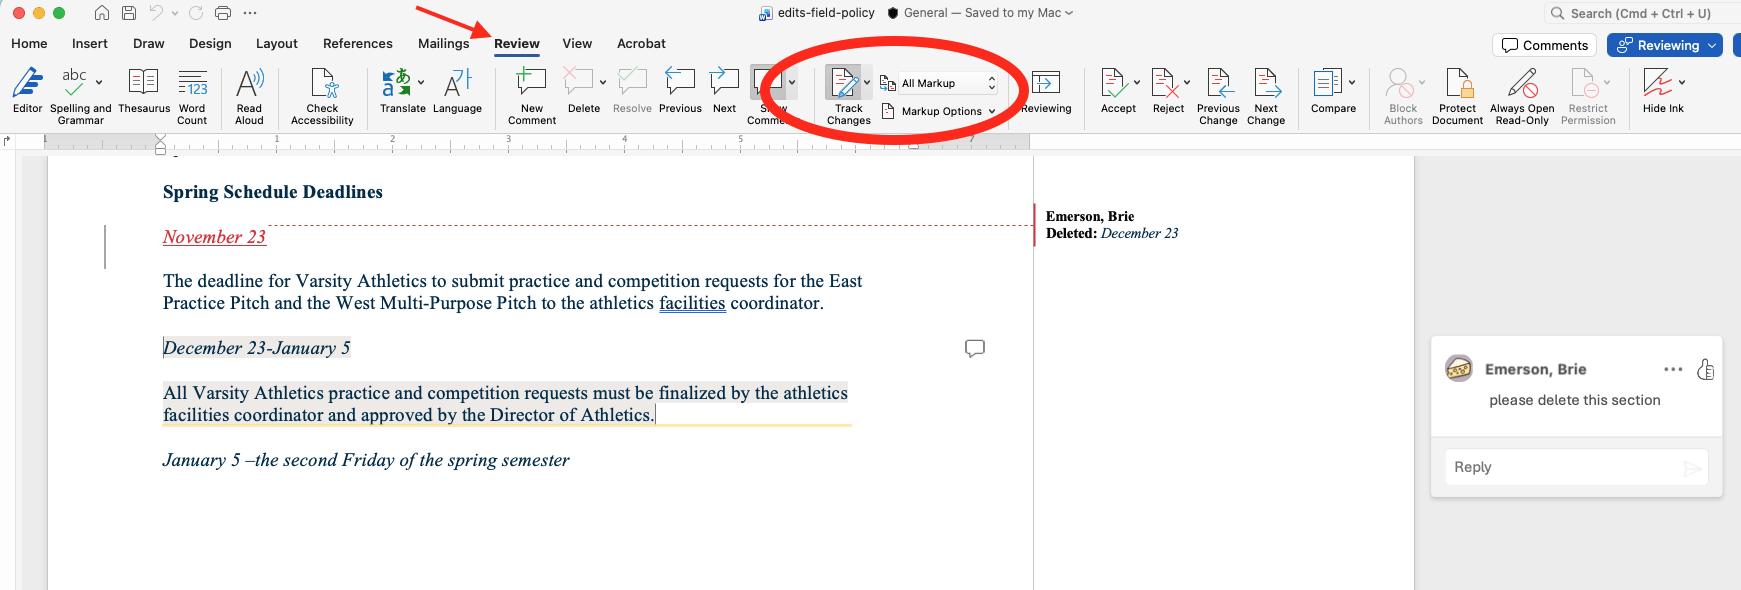
STEP 5: Mark Your Edits
In Word, click the Review tab, turn on Track Changes and ensure All Markup is selected. You can now make your edits to the document and Word will keep track of your edits. You can also select New Comment to create a comment bubble if you want to leave more detailed notes about your edits.
Tip: If you change "All Markup" to "No Markup," you can see a cleaner view of what the document will look like after your edits are made. Switching back and forth between these two views can be very helpful when you need to make many complex edits.
STEP 6: Save and Submit
Don't forget to save your document and upload it with your Web Request form!
If you have questions or need any help, please don't hesitate to reach out to webmarketing@regis.edu.